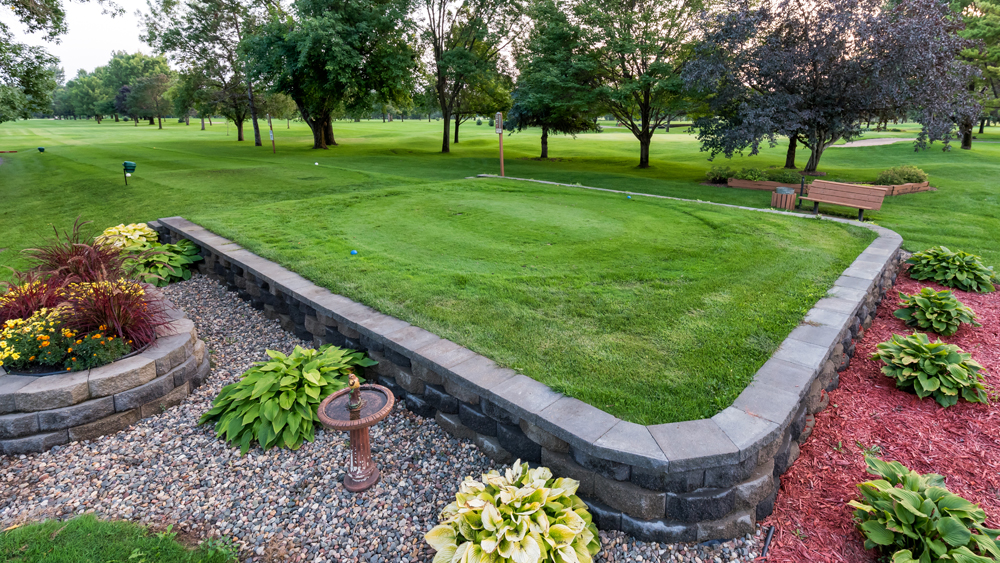
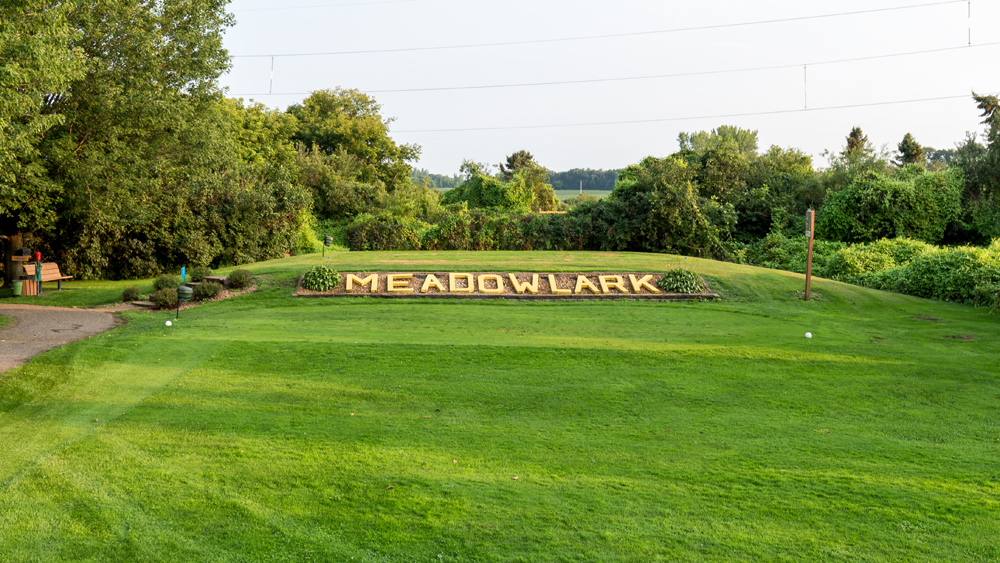
VISIT MEADOWLARK TODAY
9 Hole Golf Course
Blue – 3,261 White – 3,146 Gold – 2,881 Red – 2,591
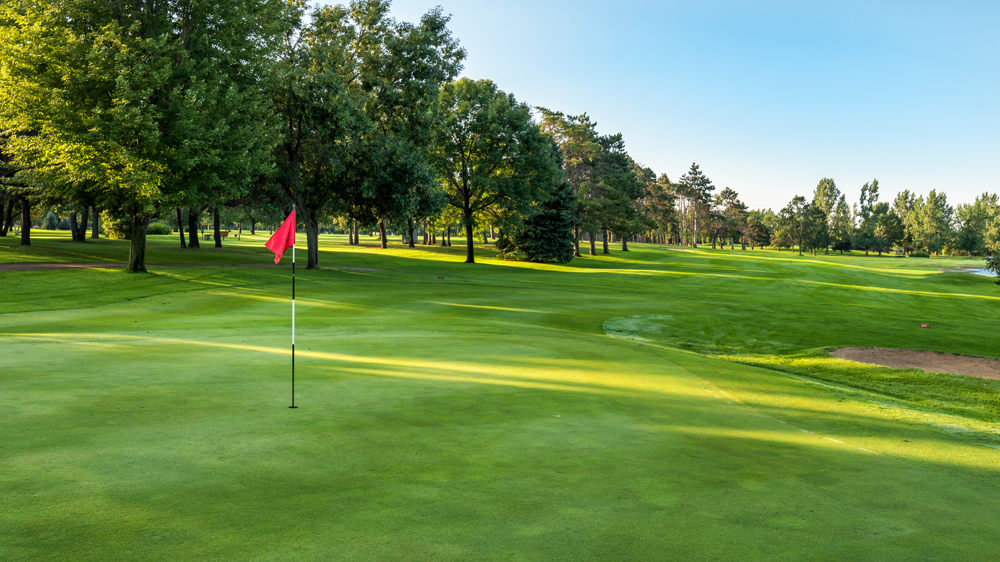
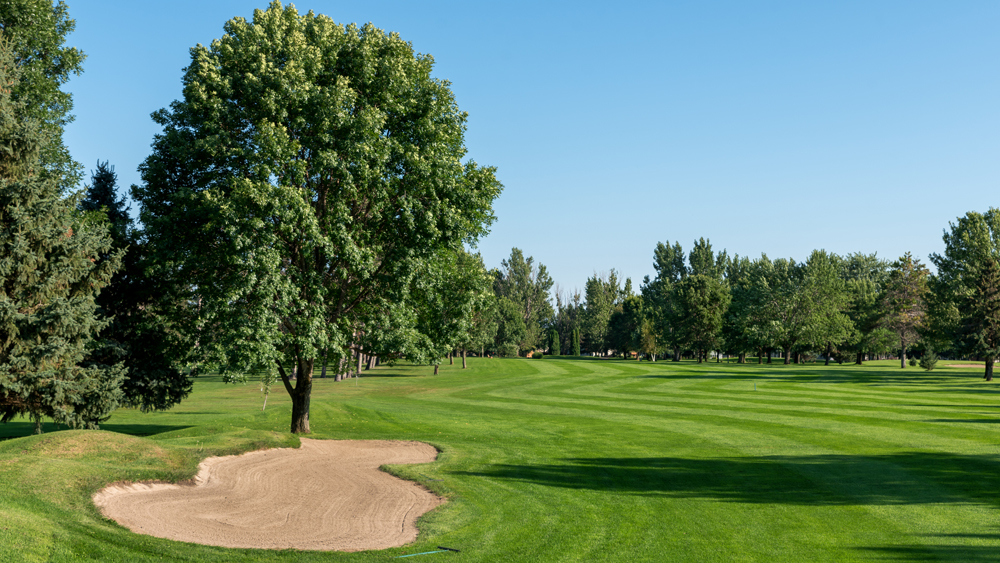
1 – Par 4 (Handicap – 3rd)
Blue–395 White–388 Gold–374 Red–317 Orange–140
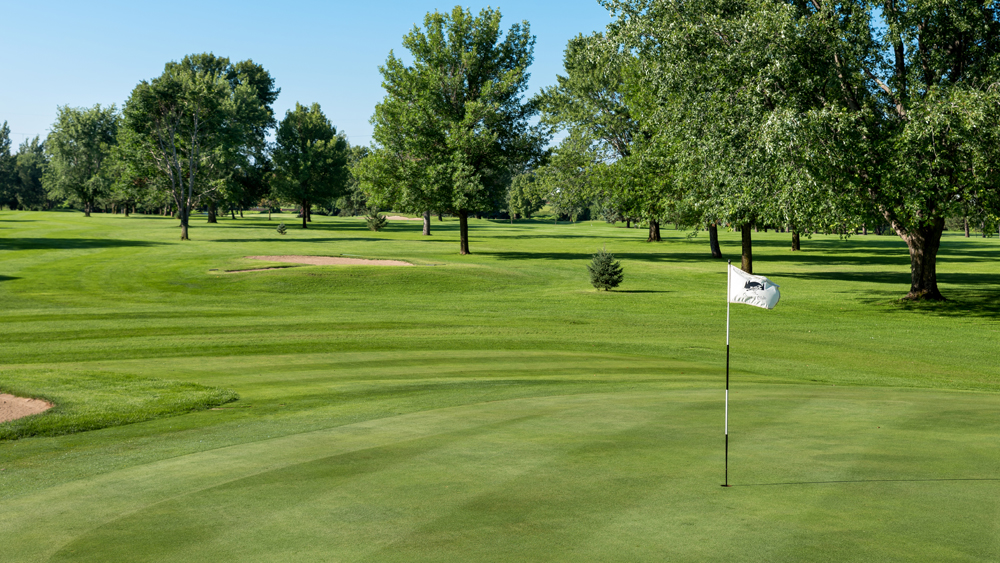
This hole commands your attention immediately. The straight, narrow fairway is guarded by out-of-bounds on the left. Any drive into the right or left rough will usually require a bail out back to the fairway. A drive to the left center is ideal. The green is guarded by a large tree and a bunker on the right. It is severely sloped from back to front, and if the pin is anywhere in the back two-thirds of the green you will want to stay below the hole on approach.

2 – Par 5 (Handicap – 1st)
Blue–556 White–517 Gold–450 Red–405 Orange–195
The elevated blue tee offers a beautiful view of the landing area. This hole doglegs slightly to the right. Big hitters can reach this green in two, but if the pin is located back left, you may want to lay up to the right side of the fairway. Fairway bunkers on the right come into play from the red tee. The green is guarded by a large bunker on the left. There is also a large bunker in back of the green and out of bounds behind that. The green is flat on the right and severely sloped on the left.

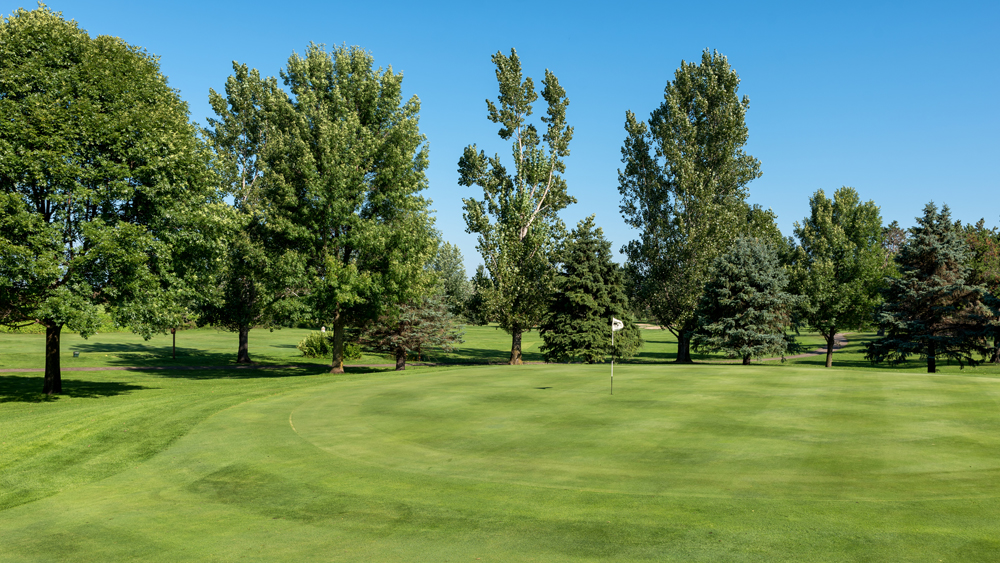
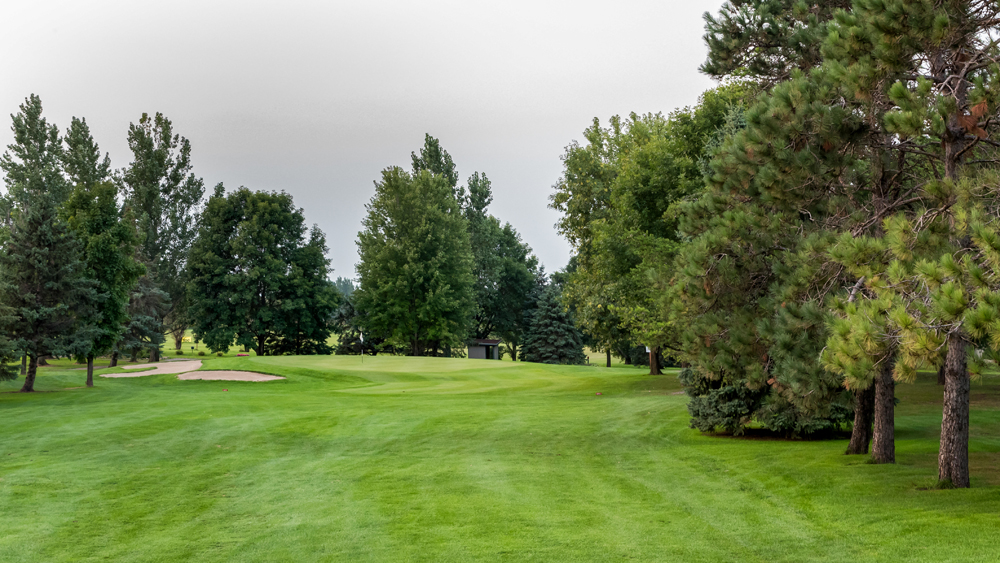
3 – Par 4 (Handicap – 6th)
Blue-374 White–360 Gold–349 Red–308 Orange–160
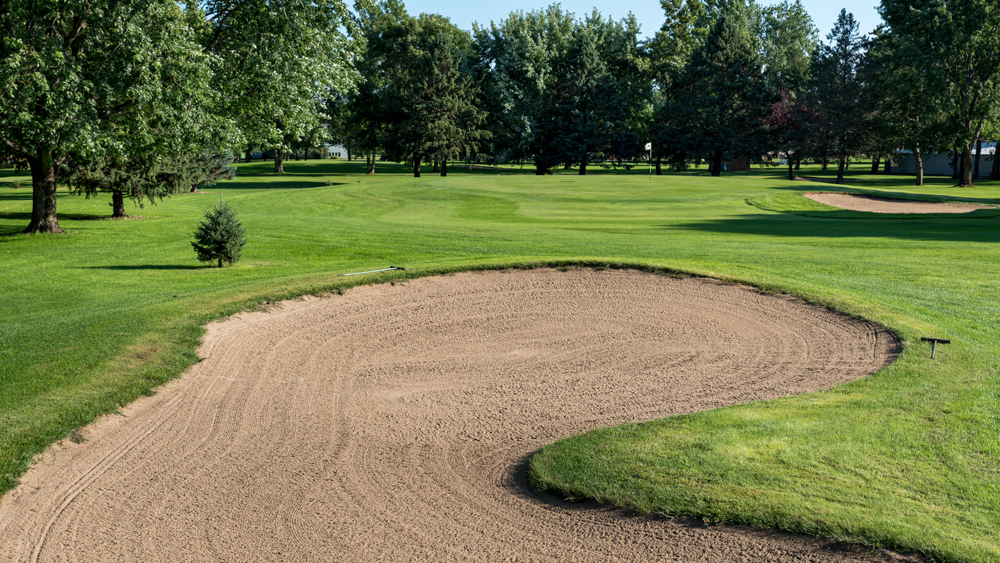
This hole is a slight dogleg right. Drives must be in the fairway and ideally should be down the left side. The flat green is guarded on the front right by two bunkers, and another mounded bunker in the back right. Behind the green is out of bounds.
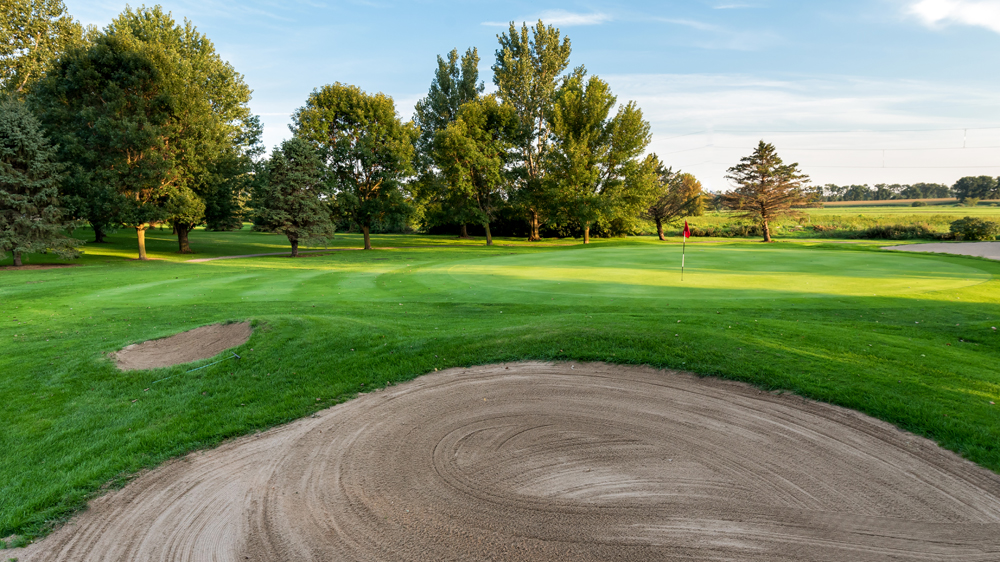
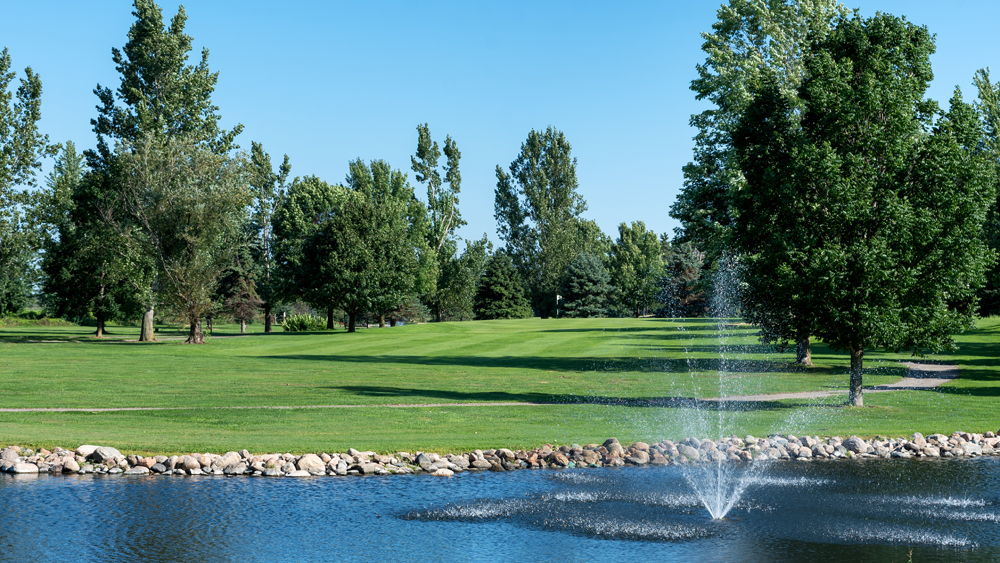
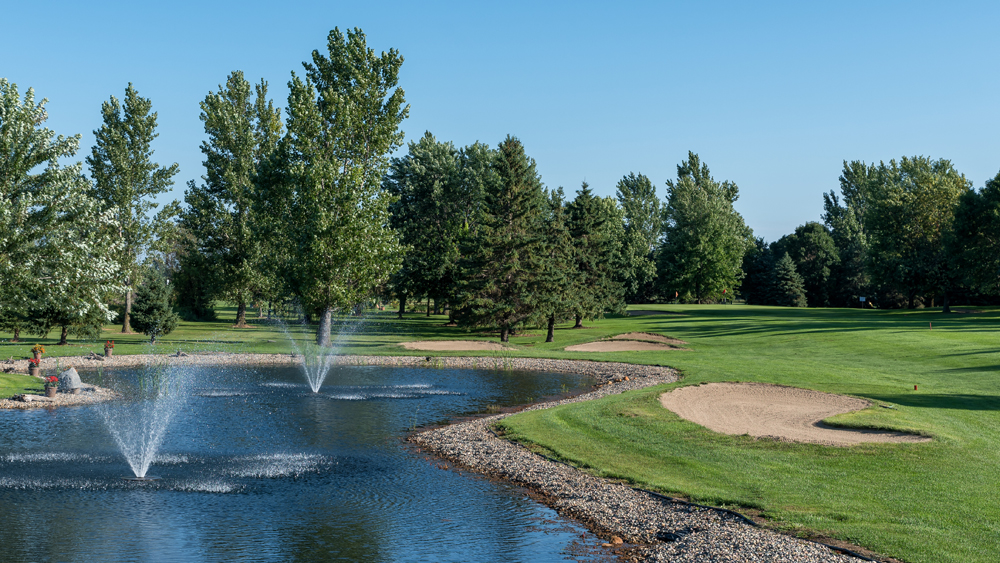
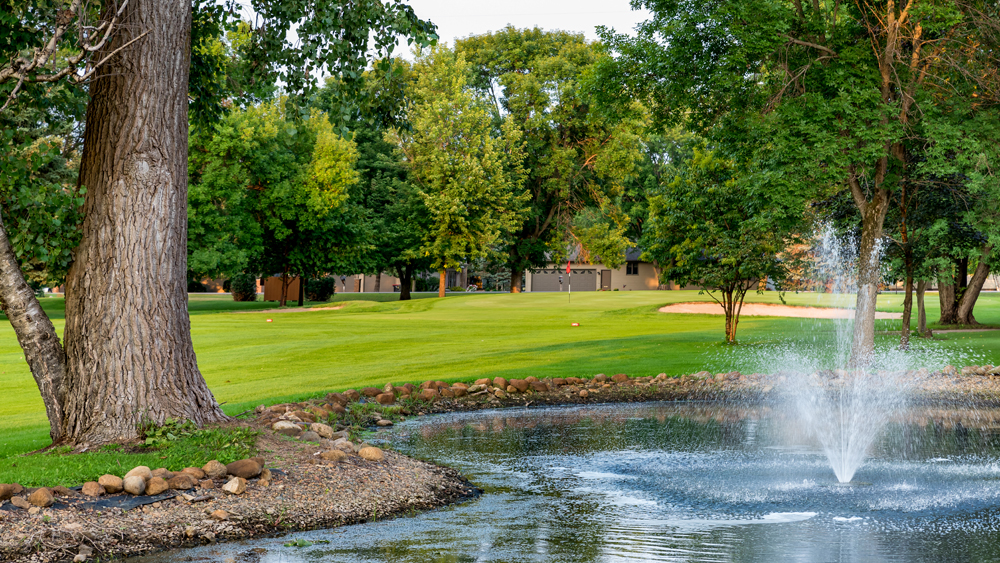
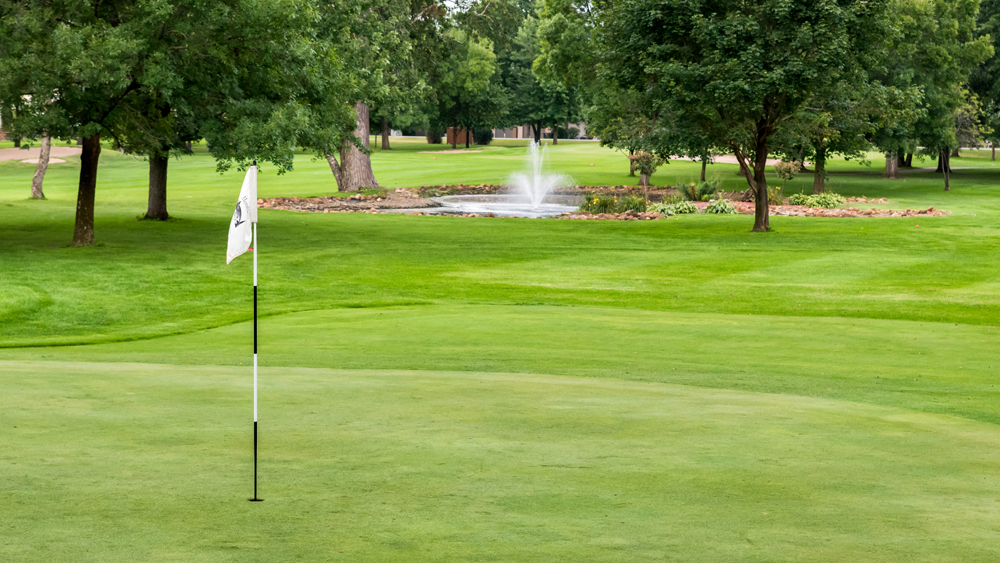
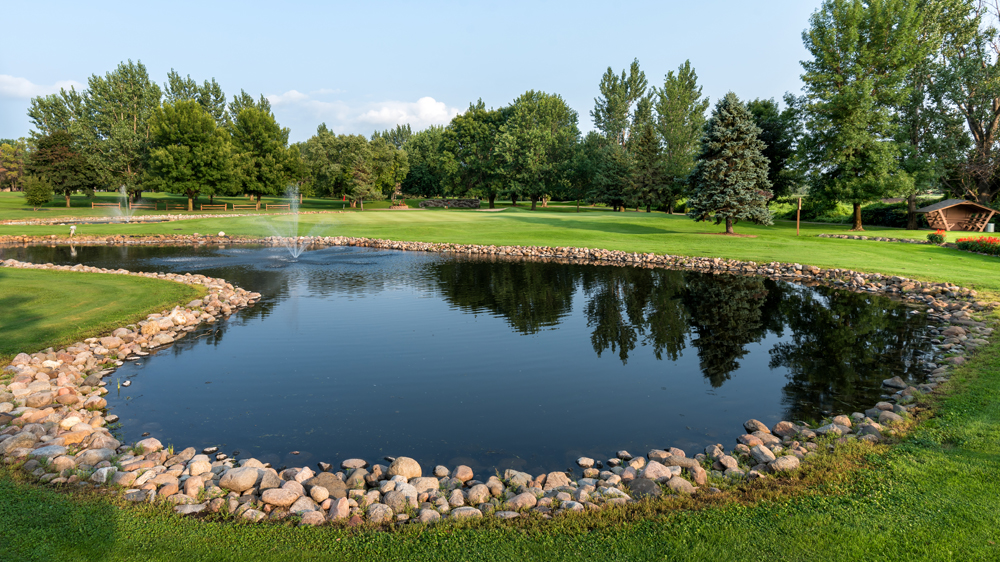
4 – Par 3 (Handicap – 9th)
Blue-183 White-176 Gold-160 Red-143 Orange-120
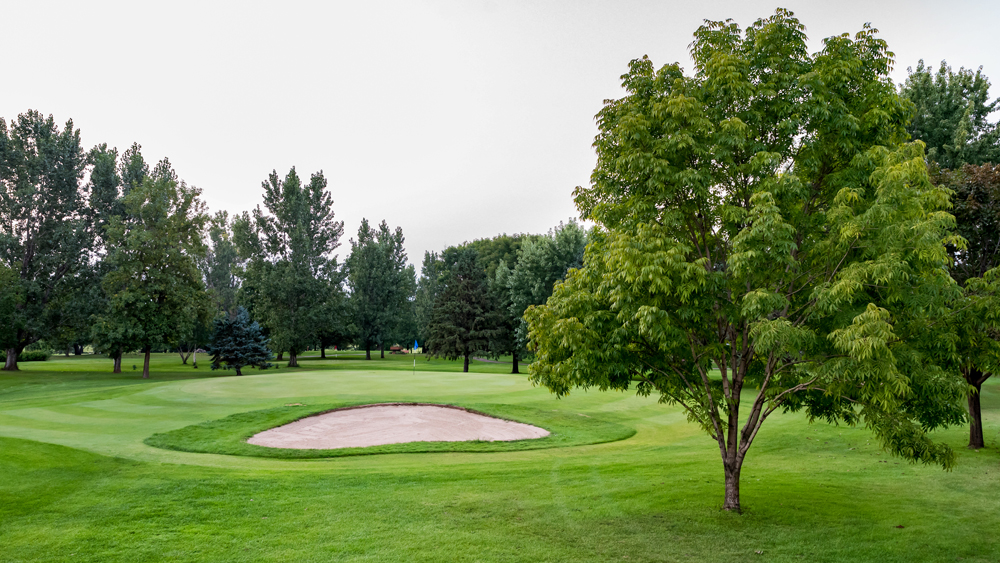
Your drive over water to a severely sloped green, back to front, can be intimidating. You don’t want to be long or to the right on this hole. A bunker guards the front right of the green. Try to stay below the pin, especially if it’s on the front half.


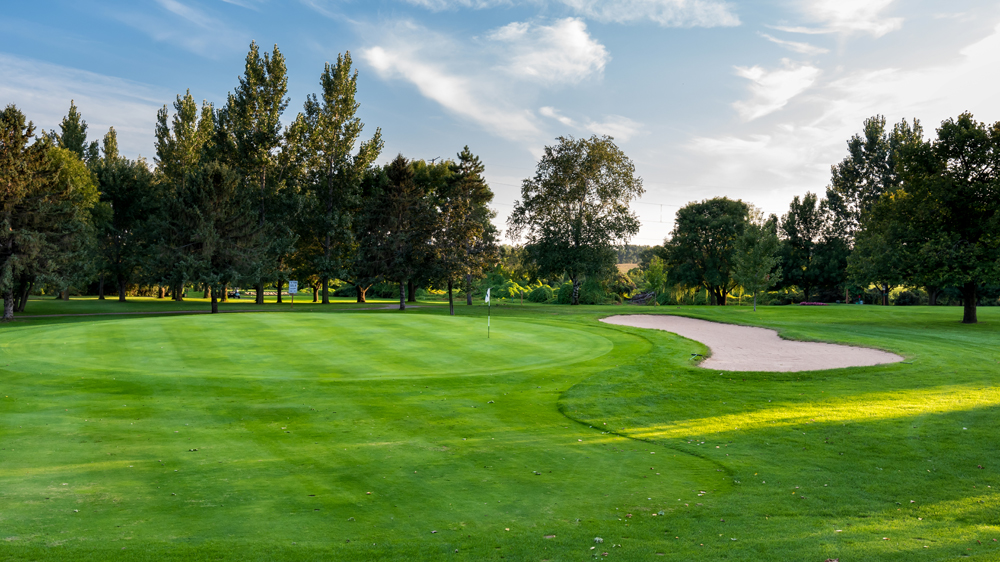
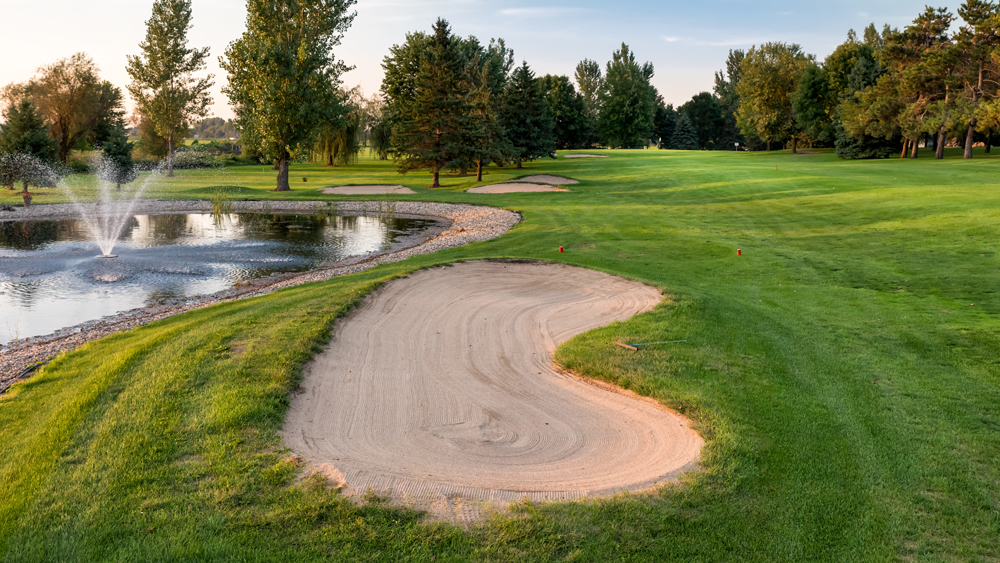
5 – Par 4 (Handicap – 5th)
Blue-352 White-346 Gold-295 Red-283 Orange-145
This is the first of two consecutive risk/reward holes, Your tee shot will require you to make a decision from the blue and white tee areas. You may choose to hit a driver over water to a narrow, two-tiered landing area, or you may choose to layup to a generous area 150 yards from the green. The hole doglegs left. A large pond lurks on the left. There is a bunker to the right of the pond and 3 small bunkers just beyond. There is also a fairway bunker on the right at 130 yards from the green. and out of bounds on the far left. The kidney shaped green is sloped from back to front. There are two bunkers to the left of the green. Do not go over the green on this hole.

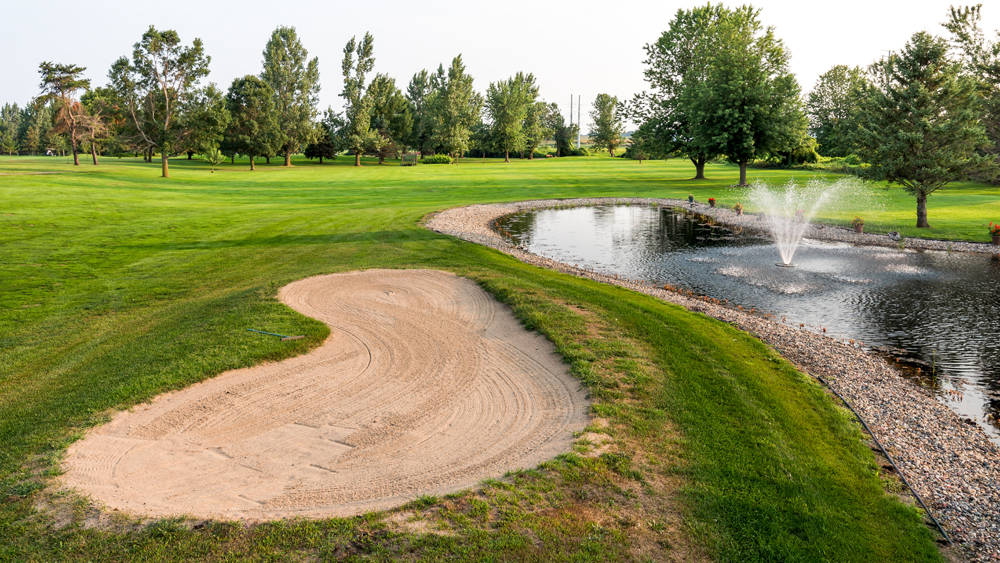

6 – Par 4 (Handicap – 8th)
Blue-329 White-322 Gold-302 Red-262 Orange-150
You may want to keep the driver in the bag on this hole. This short par 4 demands a straight drive for long hitters. It is risk/reward at its best. The fairway narrows drastically on approach to a severely sloped green from back to front. A drive to the left half of the fairway is ideal, but a massive cluster of bunkers awaits a drive too far left, and out of bounds is just left of that. On the right, 100 yards from the green, is a large pond. The kidney shaped green is guarded by bunkers on both sides in front, and also one behind. The road behind the green is out of bounds. Try not to get above the pin on this hole.


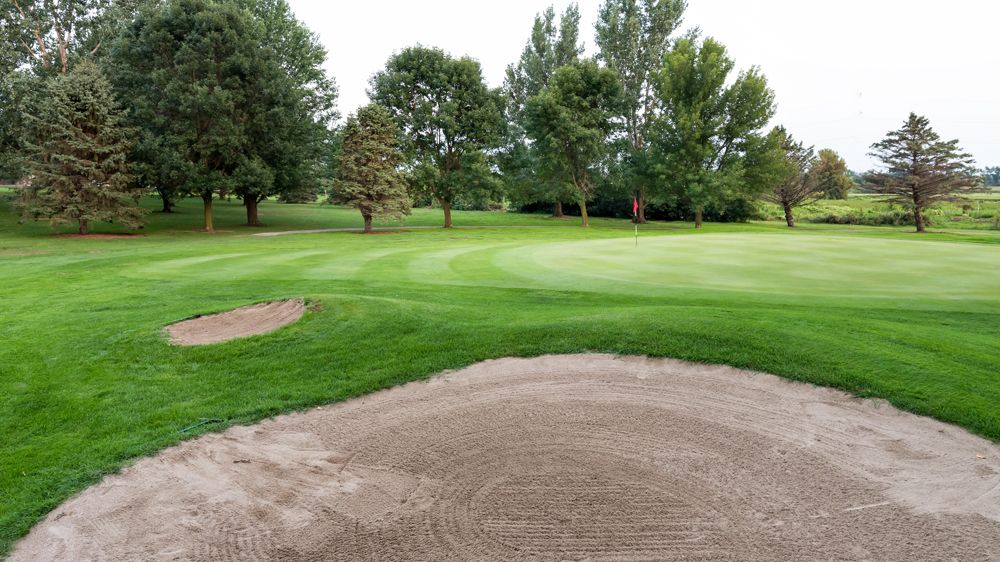
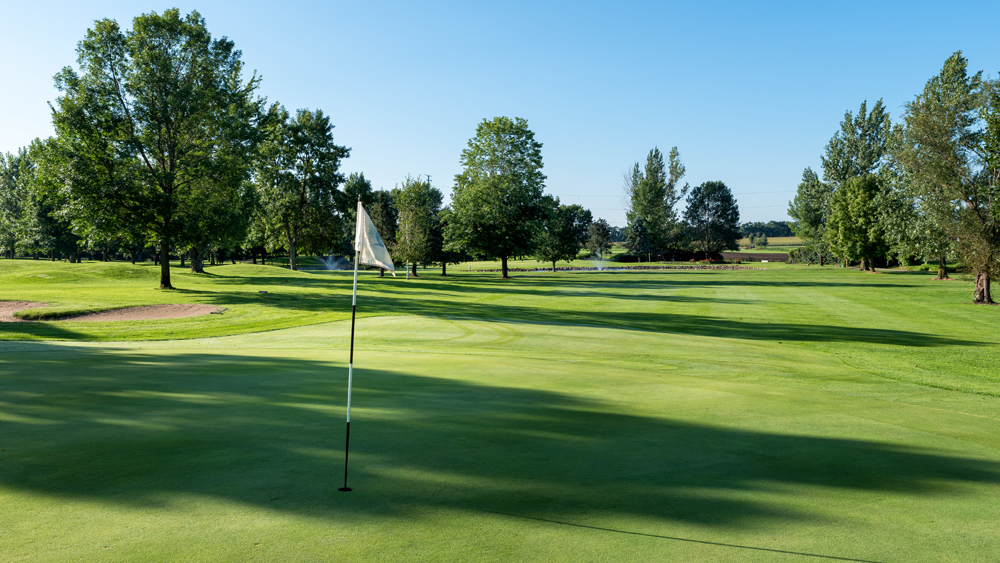
7 – Par 3 (Handicap – 7th)
Blue-182 White-154 Gold-147 Red-138 Orange-50
The back half of this green is relatively flat, but the front is quite severely sloped. There is a bunker on the front left, and also one on the right side. Do not go long on this hole. Out of bounds on the left, and the pond on the right, should not come into play, but await to penalize a severely errant shot.
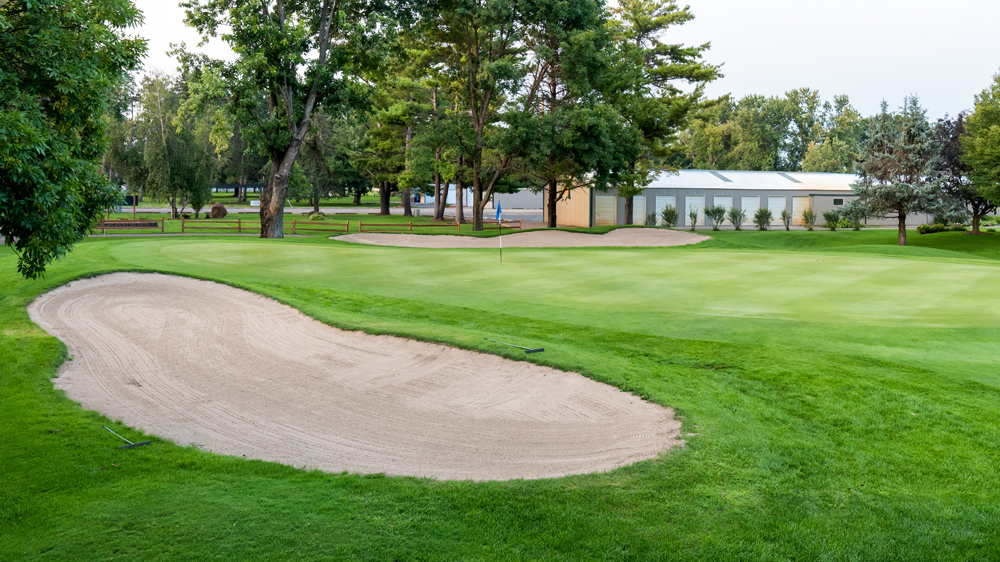
8 – Par 5 (Handicap – 2nd)
Blue-488 White-481 Gold-418 Red-406 Orange-205
While this par 5 is easily reachable in two for the long hitter, it will require 2 excellent shots for an eagle attempt. The fairway gently doglegs right. The large two-tiered green is inviting, but demands accuracy even after a layup. Large bunkers are to the right of the layup area. Two large hungry ponds guard the green on each front corner, leaving a narrow sliver of fairway between. A bunker awaits any shot long left, and out of bounds lurks behind the green.
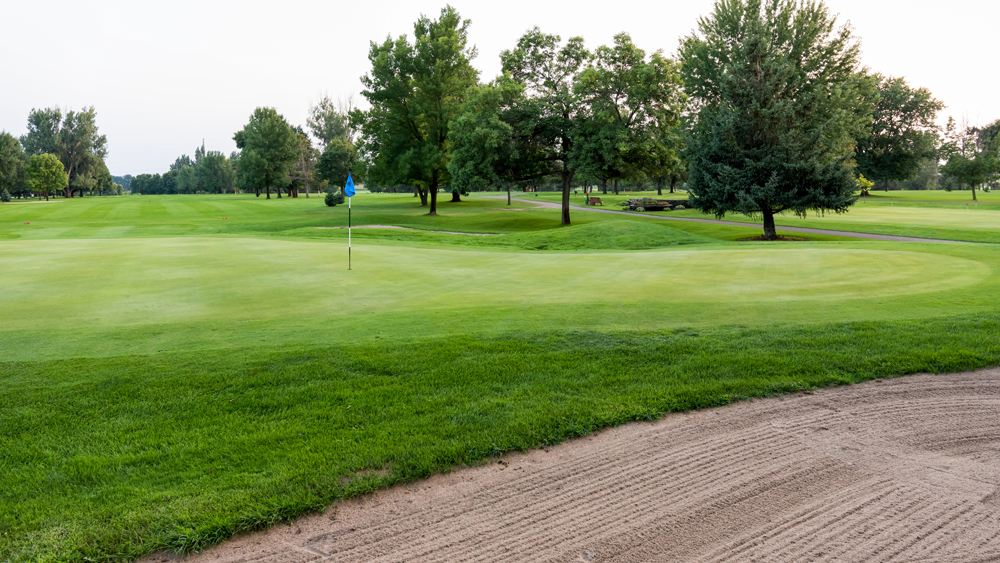
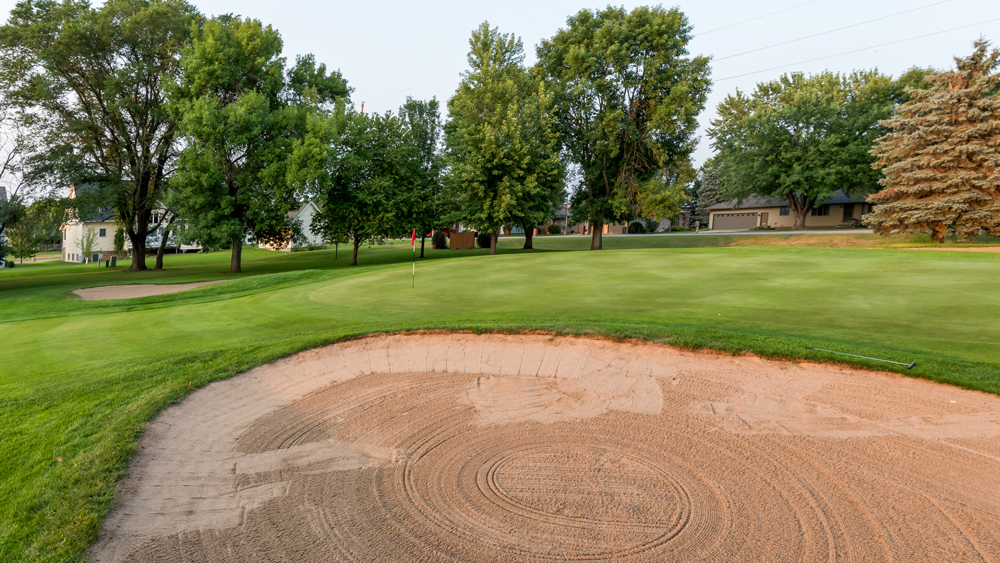
9 – Par 4 (Handicap – 4th)
Blue-410 White-402 Gold-386 Red-329 Orange-175
This par 4 seems quite ordinary at first glance, but has proven to be a fine finishing hole. A drive in the fairway is a must, and one to the left side is ideal. A large fairway bunker on the left awaits the second shot of the shorter hitter. The severely sloped front half of the green demands an accurate approach. A bunker stands guard on the front right corner. This finishing hole has determined the winner in many tournaments.